How to Prepare Walls Before Painting (Step-by-Step Guide)
A professional paint finish starts long before the first coat. Proper wall preparation is the key to smooth, long-lasting results.
1. Clean the Surface
Before painting, walls must be cleaned to remove dust, grease, and dirt. This is especially important in kitchens and high-traffic areas where grease can prevent paint from adhering properly.
2. Repair Cracks and Holes
Small dents, cracks, and nail holes should be filled using wall filler. Once dry, sanding is required to create a smooth surface.
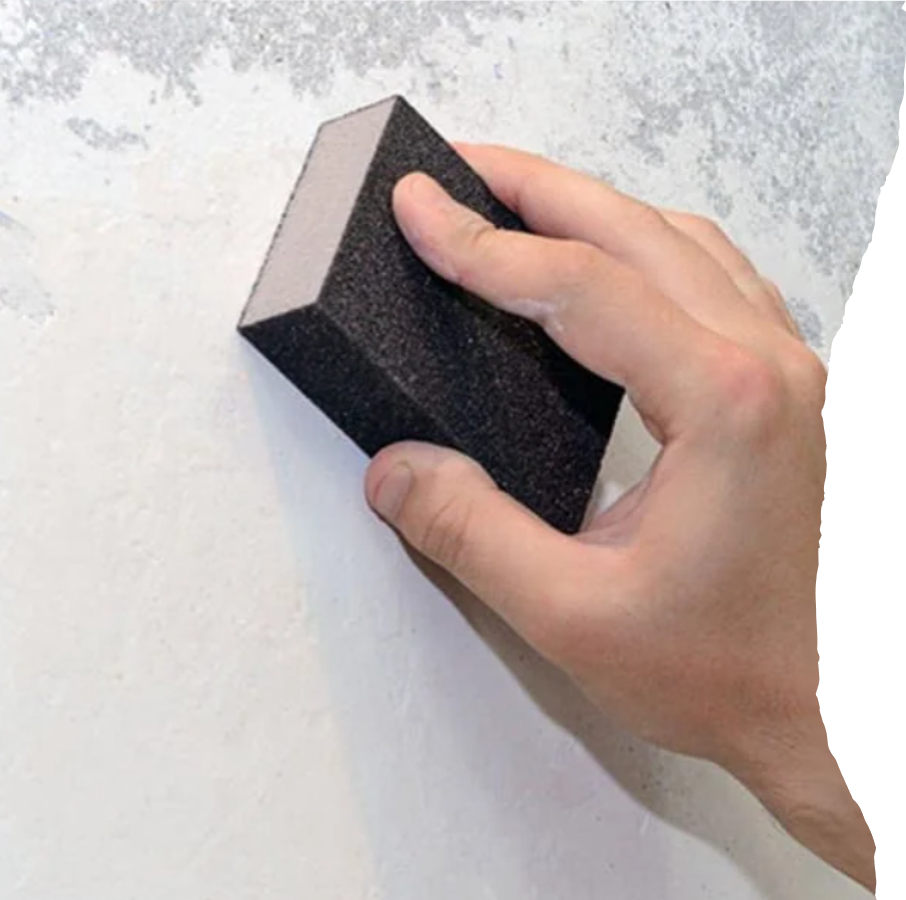
3. Sand the Wall
Sanding smooths imperfections and improves paint adhesion. Professional decorators often use sanding blocks or electric sanders for consistent results.
4. Apply Primer if Needed
Primer is essential when painting new plaster, covering dark colours, or sealing repaired areas. It ensures even coverage and improves durability.
5. Protect Floors and Furniture
Use dust sheets, masking tape, and protective covers to prevent damage and keep the workspace clean.
Why Preparation Matters
Skipping preparation is the main reason paint fails. Properly prepared walls ensure better adhesion, smoother finishes, and longer-lasting results.
Frequently Asked Questions
Do I need to sand walls before painting?
Yes, sanding improves adhesion and removes imperfections.
What happens if I skip wall preparation?
The paint may peel, crack, or look uneven.
Is primer always necessary?
No, but it is highly recommended for new plaster or repairs.
Need a Professional Painter in London?
EveroDecor specialises in high-quality wall preparation and painting for long-lasting, flawless finishes.
View Projects on Instagram