When Paint Blisters After a Leak: A Decorating Case Study
What happened when moisture showed up beneath a freshly painted wall, and what the repair taught me.
Painting a room isn't just a case of a couple of coats over prepared walls. What's happening underneath the paint often matters more than the paint itself, and this job was a good reminder of that.
I was decorating a loft bedroom in Dulux Trade Diamond Matt, in a warm terracotta, across the walls and the sloping ceilings. It was a repair job in the first place, going over a wall that had previously had a leak and picked up some cracking in the plaster. Everything was prepped and made good before I started painting. Then, within minutes of the first coat going on, small bubbles started appearing in a couple of spots. A few more turned up after the second coat.
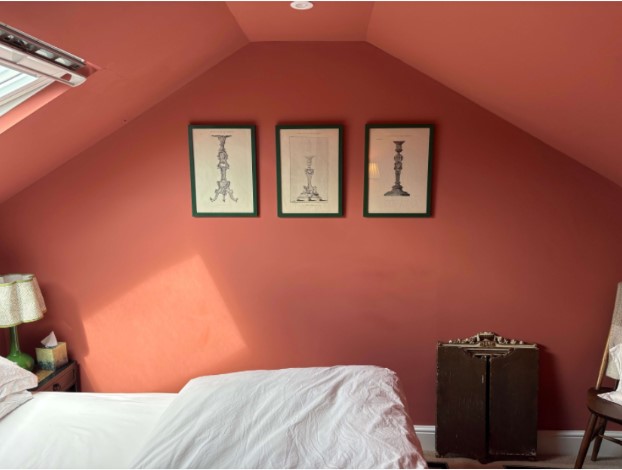
Naturally, that raises the question every decorator dreads: was this the paint letting me down, or was there something going on underneath it?
The original finish
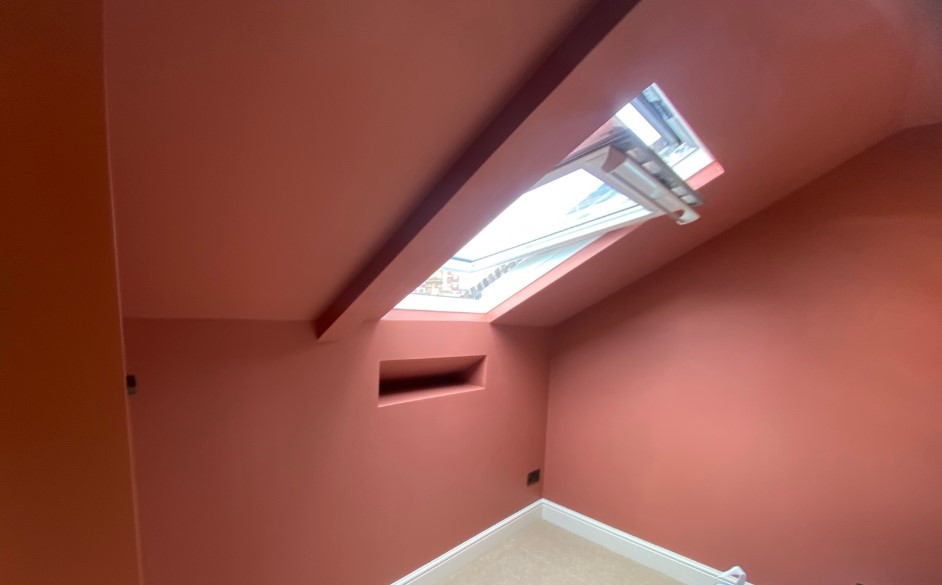
It wasn't a straightforward room to begin with. Sloping ceilings, roof windows, several changes of angle, and quite a few corners to cut in around. For the finish I went with Dulux Trade Diamond Matt, a water-based emulsion built for durability, with decent opacity and coverage up to around 16m² per litre. It's a coating I trust, and on the day it went on beautifully. The terracotta really came alive around the roof windows.
What happened during the job
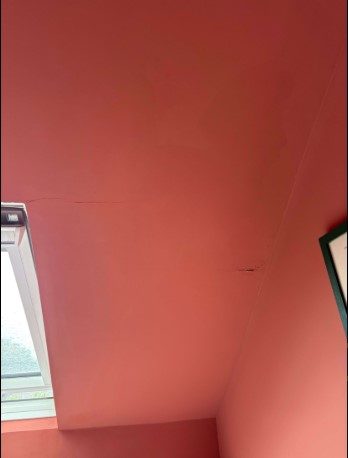
The crack below is one of the ones already there before I started, left over from the original leak and the movement that came with it. It's the kind of thing you make good, seal and paint over as part of a repair like this.
What I didn't expect was blistering showing up this fast. Not days or weeks down the line, but minutes after the first coat went on, with a few more spots appearing once the second coat went over. That timing matters. It's a strong sign the moisture was already sitting in the substrate at the point I started painting, rather than something that crept in afterwards.
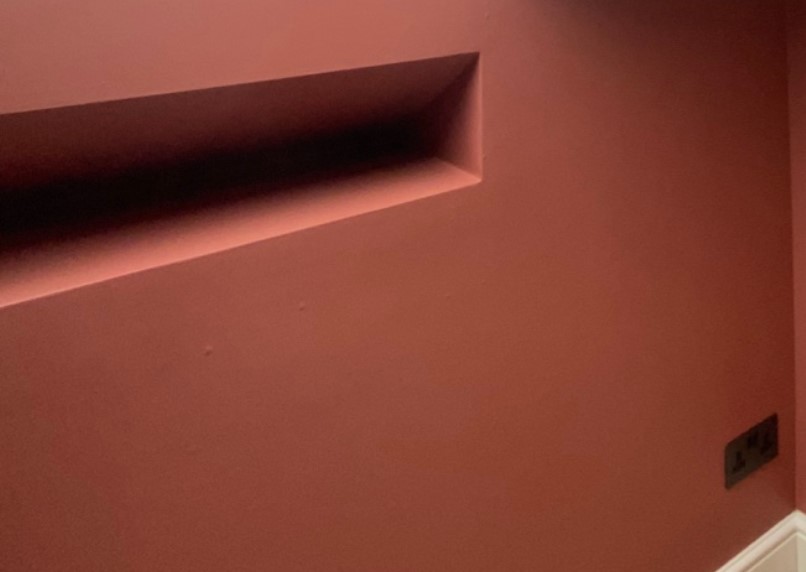
This is where diagnosing the wall properly becomes important, rather than just reaching for the sandpaper.
My take on the cause
My honest suspicion is that the plaster repair following the original leak hadn't fully dried out before I got to it, and the moisture was still trapped underneath when I applied the paint. That would explain why the bubbles showed up almost straight away rather than developing over time. I'll be upfront that I can't say that for certain without proper moisture testing, and I'd rather admit that than pretend I know for sure.
What I can say is that blistering paint is almost always a symptom of an adhesion or substrate problem, not a fault with the paint on its own. Dulux's own technical guidance backs this up: blistering happens when moisture gets trapped under the paint film, and as it tries to move, it breaks the bond between the coating and the wall.
Dulux is quite clear that new plaster and repairs need time before they're painted, up to around four weeks depending on the material and the conditions in the room. That's the frustrating part of this trade: a wall can look bone dry and perfectly ready, and still be holding moisture underneath, and you sometimes only find out the moment the paint goes on.
Was the paint to blame?
I don't think so, and I'd be cautious about pinning this on the product. Diamond Matt's technical data is clear that surfaces need to be sound, clean and dry before it goes on, and it recommends a thinned first coat to seal new or bare plaster properly. A good paint can't make up for a wall that wasn't ready for it. The prep underneath matters just as much as what goes on top, sometimes more.
What I'd check before repainting
If bubbles or blistering turn up after a job, sanding them back and going over them again isn't the answer. I'd want to work through the cause first.
- Rule out an active leak first. If water is still getting in from somewhere, there's no point touching the paint until that's fixed at source.
- Check how far it's spread. Carefully lift the loose paint to see how much of the area has actually lost adhesion.
- Look at the substrate. Assess the plaster, any filler, and the coats underneath. A moisture meter is useful here, though readings need to be read with a bit of judgement depending on the material and the meter itself.
- Give any repair proper drying time. Don't rely on how it looks or feels on the surface. If in doubt, leave it longer than feels necessary before painting.
- Repair, then repaint. Once the cause is sorted, take off the loose material, stabilise the surface where it needs it, make good the damage, and only then start decorating again.
In this case the client was understanding about it, even with the cracks, and we're now working through the proper fix rather than a quick cover-up. It's not the outcome anyone wants on a finished job, but it's a useful reminder that a paint job is only as good as what's underneath it, and sometimes the wall needs to tell you it's not ready before you can trust the finish to last.